

Installing Redmine on OpenSuSE Linux 12.2
How many times have you looked at your calendar that hypothetically says “Dates in this Calendar are closer than you think”. This is where you must have a great Project Management to make sure development goes smooth. There are many great web-based Opensource and commercial tools out there for Project Management with SCM like Github, Basecamp, JIRA, ProjectPier, Trac, Bugzilla etc; While all of them seemed promising and feature rich it was time to take a pick. Redmine is simplistic, minimal and pretty straight forward once you get all your bells and whistles in place, bit tough at first to install and configure but has plethora of options for time tracking, issue tracking, tasks, wikis, user control, SCM integration and much more.
This article outlines step-by-step localhost installation of Redmine v2.2 (with MySQL); assuming that you have ample knowledge and understanding of Linux and *NIX based distros and all your mental faculties are intact. Redmine is a great Opensource project management tool written in Ruby on Rails (RoR) by Jean-Philippe Lang. This installation was prepared and tested on OpenSuSE 12.2 (Mantis) with Gnome desktop. Before starting let's clear up few things about RoR. RoR applications are not easy or user-friendly to install or configure, specifically if you want to run a custom install; forget what you did with Apache and PHP. If you still wish you can use Bitnami environment bundles which are lot easier to deploy.
We will begin with downloading Redmine gzip/zip first from http://www.redmine.org/projects/redmine/wiki/Download or you can cut the chase; go straight to http://rubyforge.org/frs/?group_id=1850 and download latest stable version. Below are some basic packages which are required by Redmine before installation:
- MySQL server / MySQL sources
- SQLite3 sources
- ImageMagick sources
- PostgreSQL sources
- Rails bundle
- Gems bundle
- and Ruby v1.9 itself
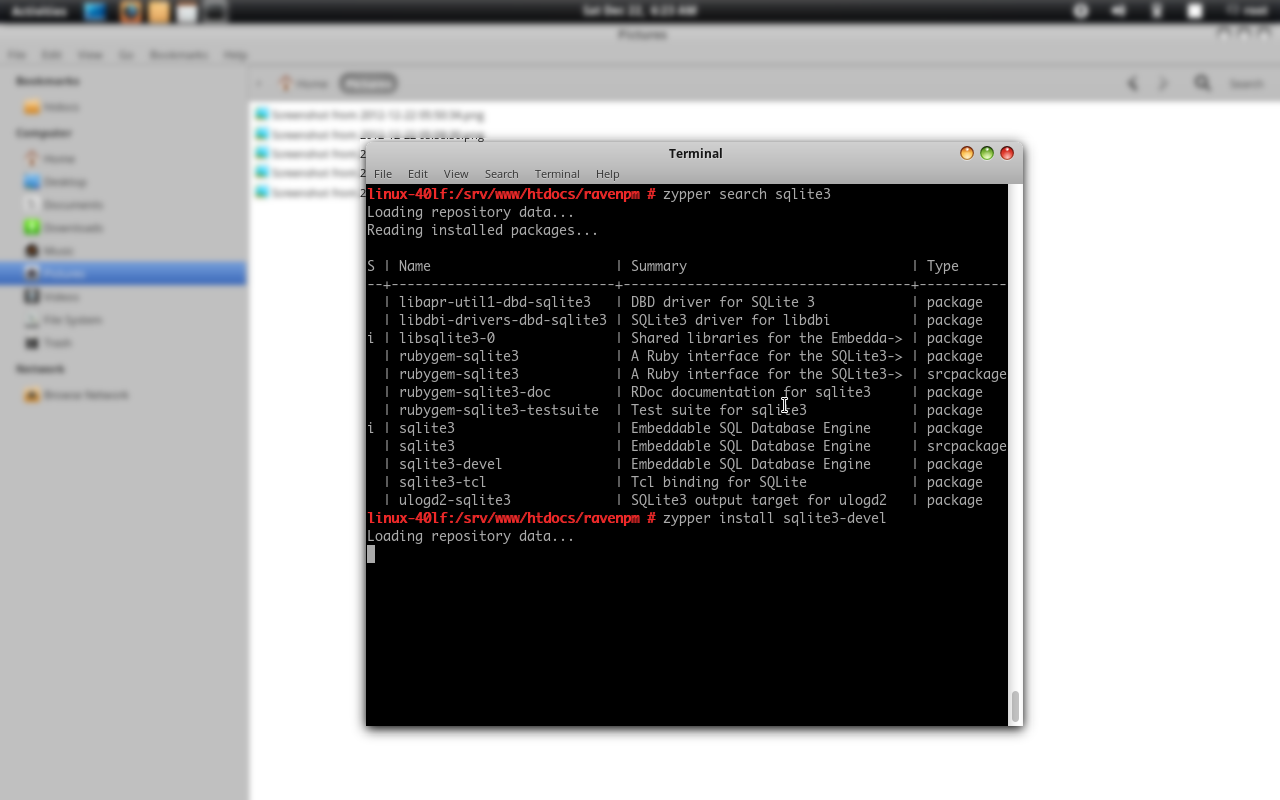
The whole topic cannot be covered in detail here, so I presume you have atleast Ruby, RubyGems and Rails installed on your system. Let's begin with installing all required packages first. Open up a Terminal, preferably in root to avoid sudoing each and everytime you run a command. You should also refer to official INSTALL guide that comes with Redmine under /doc folder. To install SQLite3 sources on the terminal type:
zypper search sqlite3
Which lists all the packages matching the word sqlite3 but we only need sources ie. development packages which are affixed or suffixed with devel, moving on type:
zypper install sqlite3-devel
Next type:
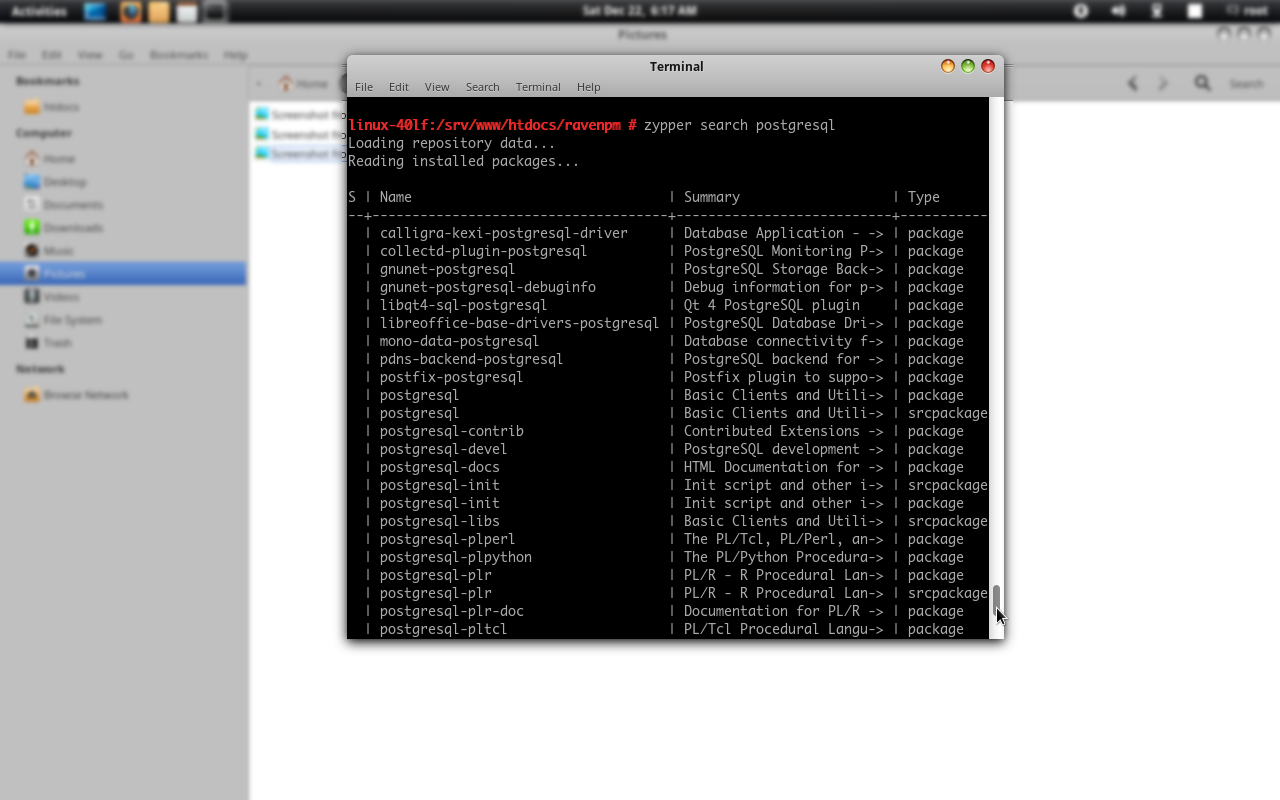
zypper search postgresql
From the list remember devel package name and type:
zypper install postgresql-devel
Moving on search for MySQL like:
zypper search mysqld
From the list remember devel package name and type:
zypper install libmysqld-devel

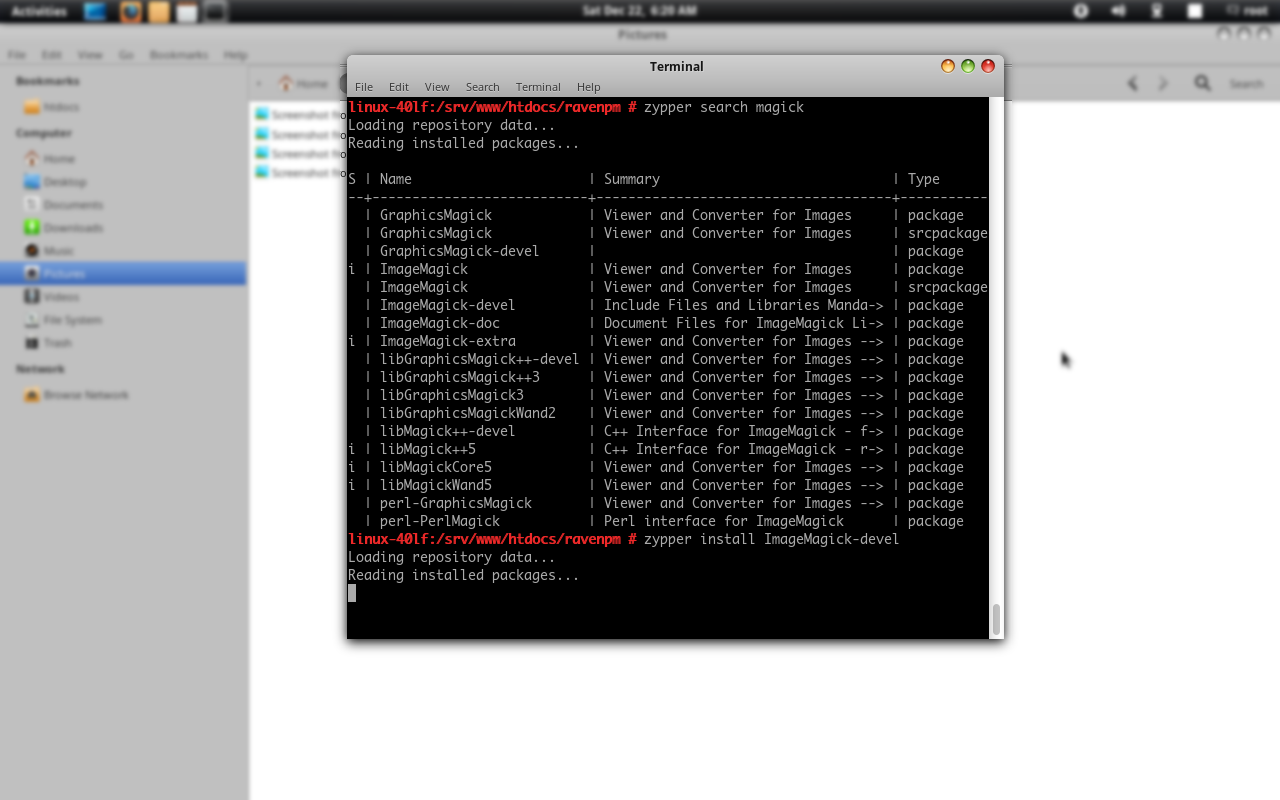
Moving further search for ImageMagick (required for charting) like:
zypper search magick
From the list remember devel package name and type:
zypper install ImageMagick-devel
Next create a new database in MySQL from command line or phpMyAdmin and name it to "myredmine". Now extract contents of redmine-2.2.0.tar.gz archive in your desired folder and make a copy of database.yml.example in /config folder and rename it to database.yml and open this file in gEdit. Based on your choice of configuration make changes to either production or development sections or both. Note to make the change in adapter to mysql2 its very important.

It's now safe to run bundle install from the directory where you extracted Redmine archive and let Redmine automatically install required gems as below:
bundle install --without development test
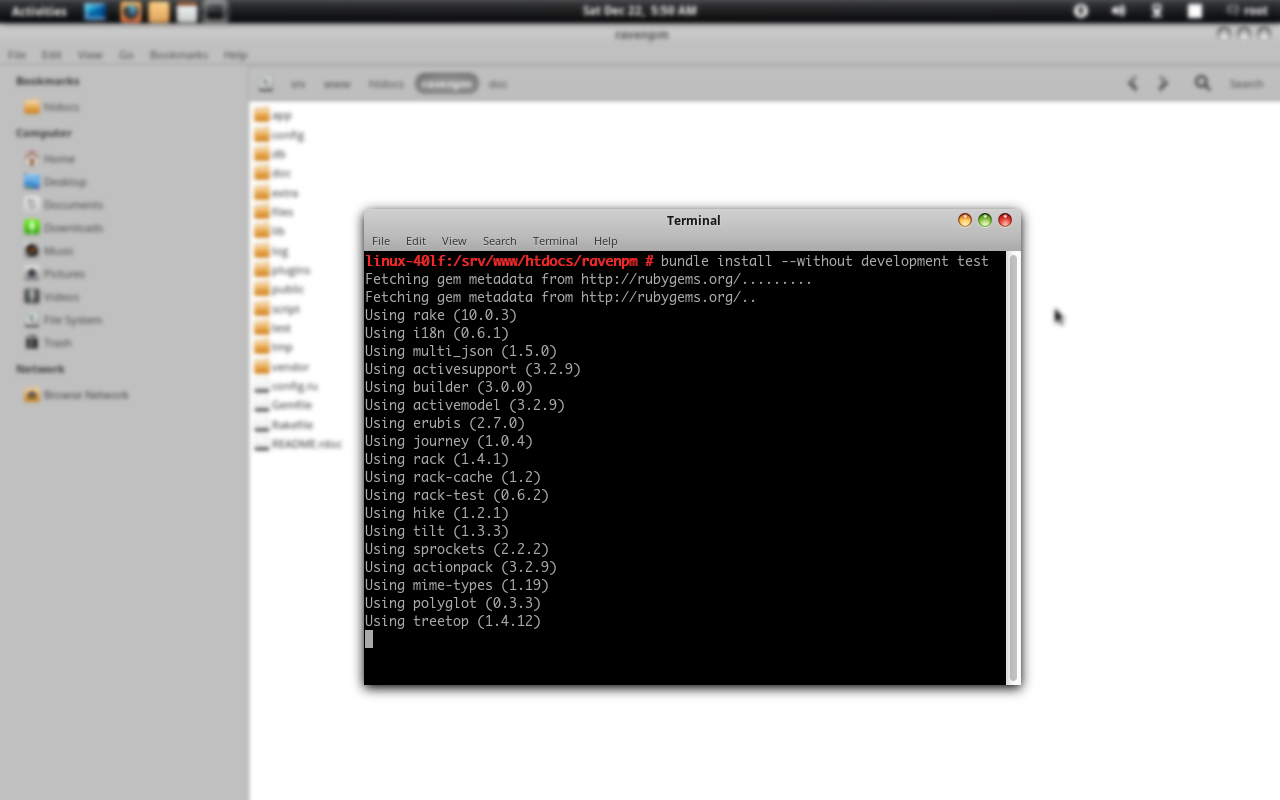

If you get bundle completed and installed message it means everything went right. Now you can create default database, set folder permissions and launch the application from Terminal by using following commands:
rake generate_secret_token
rake db:migrate RAILS_ENV="production"
sudo chown -R redmine:redmine files log tmp public/plugin_assets
sudo chmod -R 755 files log tmp public/plugin_assets
ruby script/rails server -e production -d
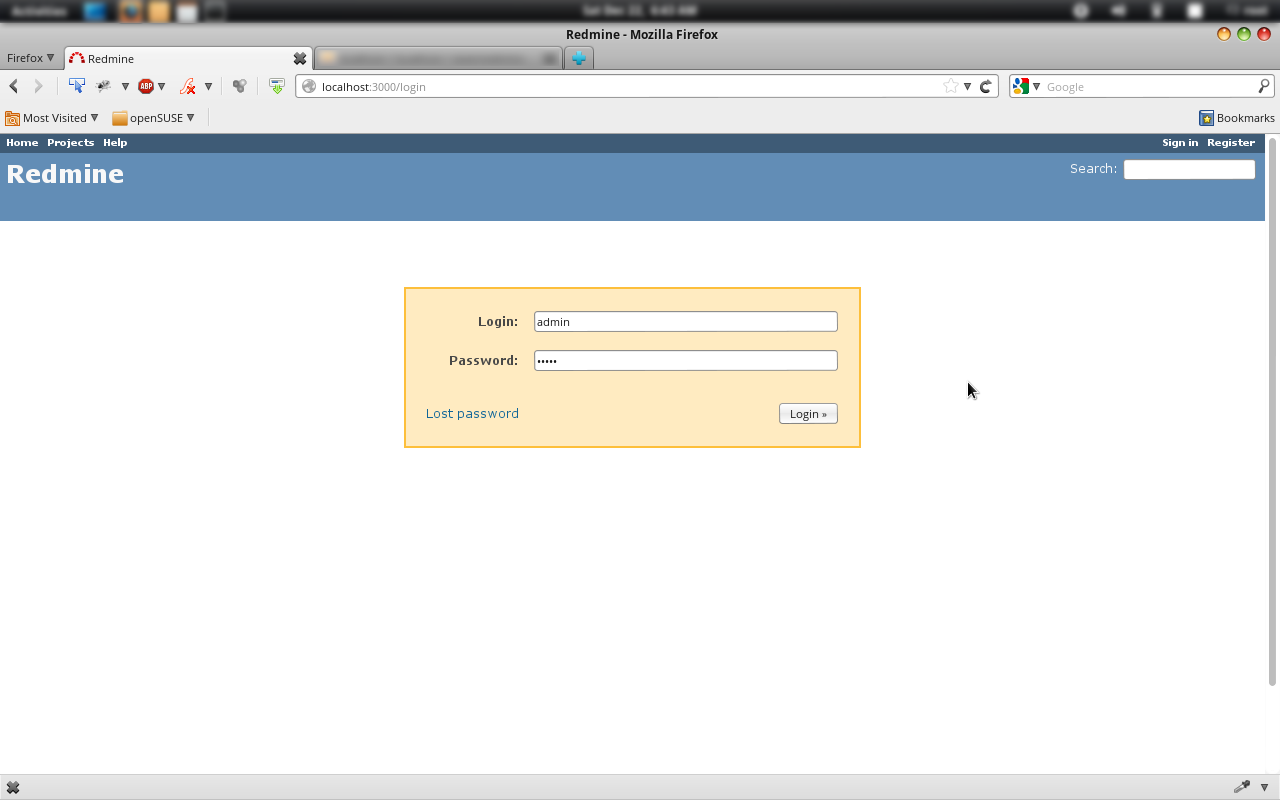
You can choose "development" or "production" environment depending on your database configuration. If you can see Webrick started successfully than it worked. Next you should ensure in your browser by going to http://localhost:3000 to see if you could login to Redmine.
There are much more advanced configurations you can use for Redmine or any other RoR application like running it through cgi, fcgi, fcgid, mod_rails aka passenger or with mongrel but they cannot be covered within the scope of this article.Though there are Wiki's on how to install Redmine with Apache; afaik they impose some implications with different distros. Some good resources on howto's are below: